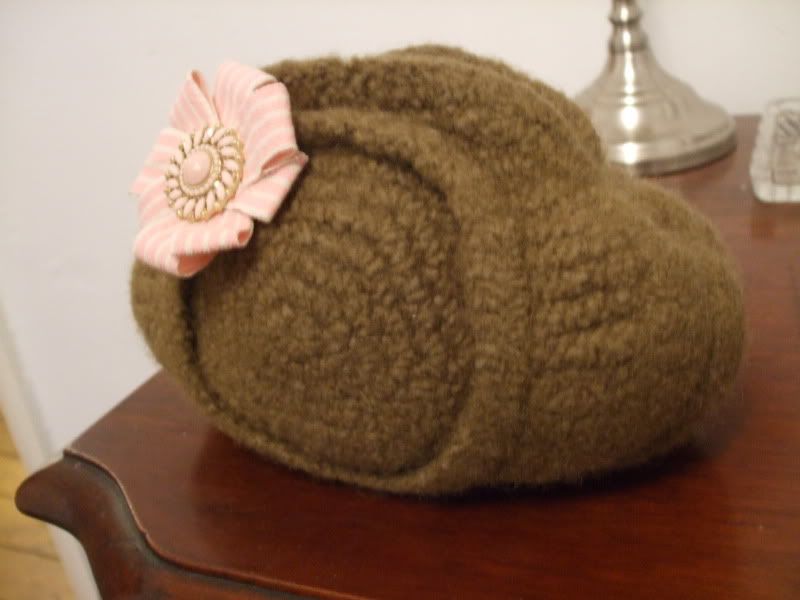
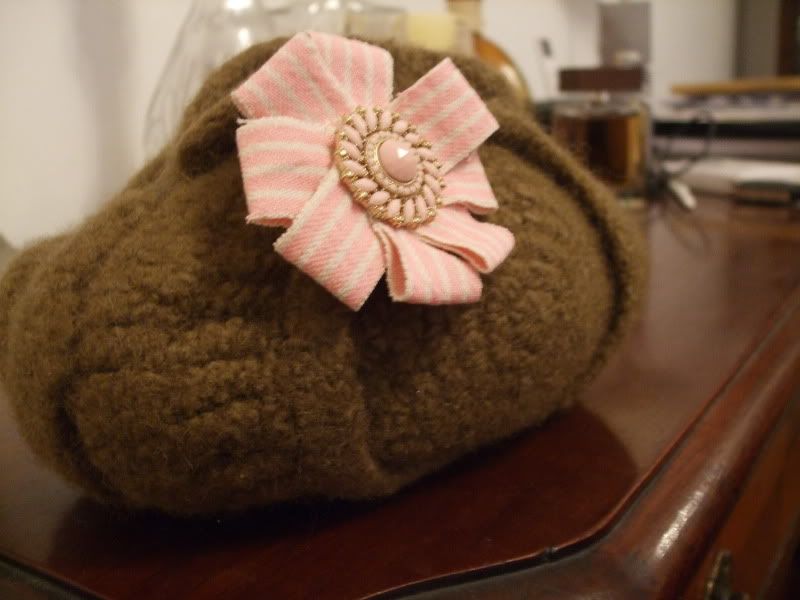
Right, finally got around to posting the pattern for this cute little bag. I'm currently using mine as a make up bag. Bear with me on this one - the pattern is untested and I'm working from a few scrappy notes I made at the time. I'm going to make a couple more of these bags so that should hopefully flag up any issues.
You will need about 120 metres of super chunky yarn - I used Rowan Little Big Wool which is 5-6 wpi to give you an idea, a 9mm crochet hook and a stitch marker. Make sure your yarn has a high percentage of animal fibre and is not superwash wool otherwise it is unlikely to felt. If in doubt swatch first.
Gauge is not important with this pattern - use a lighter weight wool for a smaller bag or a heavier/double strand for a larger bag. For any yarn substitutions make sure you also change your hook size to suit.
Abbreviations (note this pattern uses UK terms)
Sl St - slip stitch
Ch - Chain
Dc - Double crochet
Htr - Half treble crochet.
Tr - Treble
Dtr - Double treble
Ttr - Triple treble
Tr2tog - Treble 2 together
FLO - Front loop only
BLO - Back loop only
Bag Side (make 2)
Ch 4, Sl St to join and form ring.
Row 1: Ch 2 (counts as stitch) dc into ring 5 times sl st to join (6dc) Mark last st and move marker up as each row is completed
Row 2: Ch 2 (counts as stitch) dc in same st. 2dc in each st around, sl st to join. (12 dc)
Row 3: Ch 2 (counts as stitch) dc in same st. *dc in next st 2dc in next st. Repeat from * around. Sl st to join. (18 dc)
Row 4: Ch 2 (counts as stitch) dc in same st. *dc in next 2 sts, 2dc in netx st. Repeat from * around. Sl st to join. (24 dc)
Rows 5-8: Continue to increase 7 sts per round as set pattern above. 48 dc at the end of row 8.
Row 9: Working in FLO htr evenly around. Sl st to join (48 htr) End off.
Row 10: Rejoin yarn to back loop of any st in row 8. All sts in this round are worked BLO. *Sl st in next 3 sts, dc in next 2sts, htr in next st, 2htr in next st, tr in next st, 2tr in next st, dtr in next st, 2dtr in next st, 2ttr in next st, 2ttr in next st, 2dtr in next st, dtr in next st, 2tr in next st, tr in next st, 2htr in next st, htr in next st, dc in next 2sts, sl st in next 3 sts. Repeat from * Sl st to join. (60 sts)
Row 11: Ch 1, Dc in same space, dc in next 3 sts, 2dc in next st, htr in next 2 sts, 2htr in next st, tr in next 2 sts, 2 tr in next st, dtr in next 8 sts, 2 tr in next st, tr in next 2 sts, 2htr in next st, htr in next 2 sts, 2dc in next st, dc in next 4 sts, sl st to join. End off (66 sts)
Bottom/Sides (make 1)
Ch 9
Row 1: Tr in 3rd chain from hook, tr in each ch across (6tr) Turn.
Row 2: Ch 3, Tr in each tr across (6tr) Turn.
Rows 3 - 20: Repeat row 2
Row 21: Ch 3 Tr2tog twice, tr in last tr. Turn
Row 22: Ch 3, Tr2tog, tr in last tr Turn
Row 23: Ch 3 tr 2 tog. End off
Rejoin yarn to end of foundation chain at row 1 and work rows 21-23.
To make up the bag:
Line up the centre of the bottom strip with the centre of the bag side and pin together ( I found it easier to fix one side at a time, remember to have right sides facing when you do this which is the side with the raised front loop trebles) Starting from the centre out for eveness, Sl st the end of each of the bag bottom rows to every other bag side stitch. This creates the bubble effect. Repeat for the second side. Close the bag further with a couple of sl sts past the end point of the side piece. Turn right side out. I also added a row of htrs around the opening of the bag top. Your bag should be looking a little like this:
All thats left is to pop it in the wash to felt - I put mine in a pillow case and chucked it in with my usual washing at 60 degrees.
Lining is optional, I use mine unlined but added a magnetic snap to close.
Hope you enjoy making Lalique!


Love the bag! Thanks for posting the instructions.
ReplyDeleteVery cute -- can't wait to give it a try.
ReplyDeletesuper sweet bag :)
ReplyDeleteI'm going to follow you :D
Is row 11 of the bag sides unfinished?
ReplyDeleteThis little bag is lovely.. Very clever idea.. :))
ReplyDeleteyes, I agree with anonymous, row 11 is not complete. I think it needs the "repeat from *" right? The pattern only indicates half the round, so I believe the other half of the row needs to be a repeat, kinda like 10, right?
ReplyDeleteAssembly instructions not clear. For the bottom--are the ends joined to form a circle after the decreases? Very confused on how to attach sides to bottom! Any help much appreciated.
ReplyDelete